origami fold notecard holder
Tutorial by Heather Rae Bingham Peete
adapted from video tutorial by emeraldcityelegance
adapted from video tutorial by emeraldcityelegance
materials needed:
12 x 12 sheet of patterned card stock
scoring tool
bone folder
straight edge tool
grid paper or measuring mat
crop-a-dile
jumbo eyelet
ribbon
scoring tool
bone folder
straight edge tool
grid paper or measuring mat
crop-a-dile
jumbo eyelet
ribbon
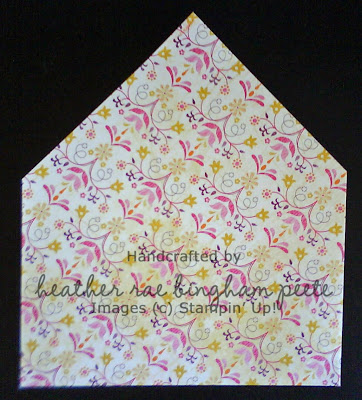
Start with a full 12 x 12 sheet of patterned card stock. I used a double-sided piece of Razzleberry Lemonade Designer Series Paper from Stampin’ Up!
Fold sheet in half from point to point, forming a triangle. Use a bone folder to create a strong crease.
Fold sheet in half from point to point, forming a triangle. Use a bone folder to create a strong crease.
Unfold paper. With original crease running horizontally, score vertically at 6 ½ inches in from both sides. note: The video says 5 ½ inches, but I learned through trial and error to make the vertical scores at 6 ½.
Fold side points in on new score lines. Align each point with horizontal crease. Press with bone folder.
Fold in half, point to point, and press firmly with bone folder.
Score ¾ inches from either side of original center crease. This is made easier with it open.
Fold and crease on new score lines, folding so that other side of paper shows.
You should now have a “mountain fold” at the bottom of holder, which enables it to stand alone.
Use a crop-a-dile to punch a hole and attach a jumbo eyelet at top of holder. Thread ribbon through eyelet and tie off. Fill holder with notecards and matching envelopes. Mine comfortably held four A2 notecards in the front pocket and their envelopes in the back pocket.


Thank you sooooo much for posting written instructions with photos. I have dial up and just could not watch the video tutorial, you are a lifesaver!
ReplyDeleteJust beautiful!! Blessings to you!
ReplyDeleteCute cards and ideas...I didn't even know you had a blog:). I will have to check it out often. You have some great ideas :)
ReplyDelete